Building a streaming setup shouldn't require a degree in audio engineering
You want to go live. You don't want to spend weeks researching microphones, figuring out XLR vs USB, or wondering if a $50 audio interface will make you sound like a podcast host or a drive-thru speaker. We built CreatorConfig to solve exactly this problem — and this guide walks you through every decision.
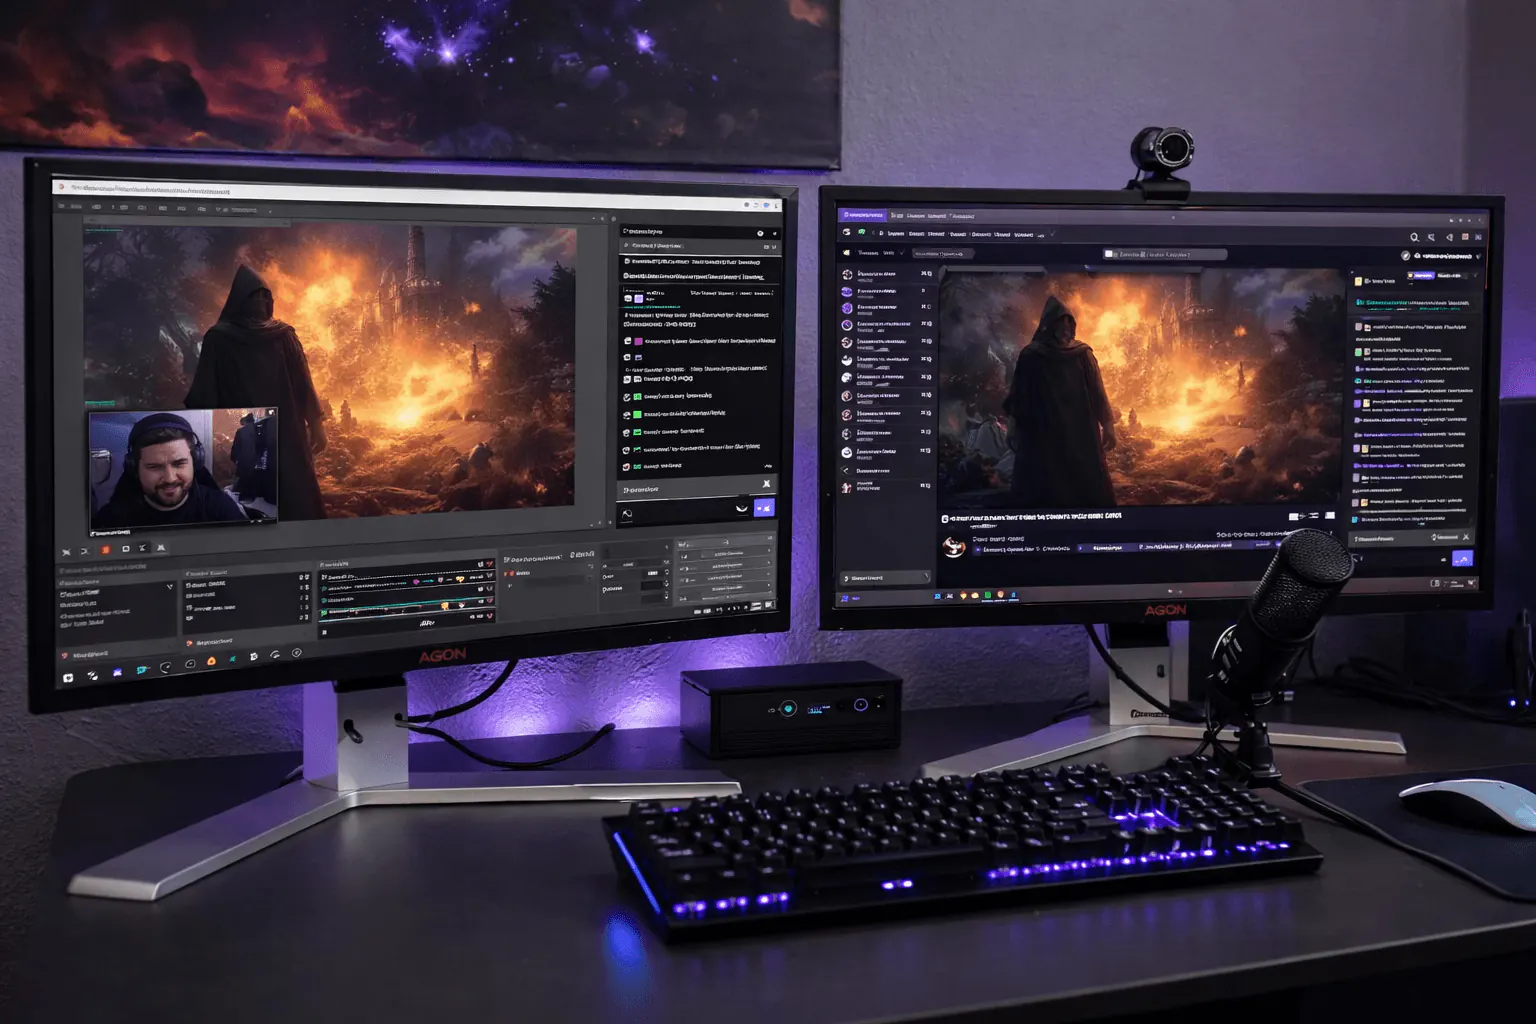
Whether you're streaming on Twitch, YouTube, TikTok, or console, the fundamentals are the same: clear audio, decent video, and reliable gear that works together. Let's break it down.

The Five Categories Every Streaming Setup Needs
Every streaming setup — from a $200 budget rig to a $2,000 pro studio — is built from the same five categories:
- Microphone — your voice is 80% of your content quality
- Audio interface or mixer — connects your mic to your PC with clean audio
- Camera — your face, in focus, with decent lighting
- Capture card — only needed for console streaming (PS5, Xbox, Switch)
- Cables and accessories — the stuff nobody thinks about until something doesn't work
We'll cover each one. Skip the capture card section if you're streaming from a PC — you don't need one.
Step 1: Pick Your Microphone (This Matters Most)
Bad video is forgivable. Bad audio is not. Viewers will watch a grainy webcam feed, but they'll click away the second your voice sounds muffled, echoey, or distorted. Your microphone is the single most important purchase in your setup.
Dynamic vs. condenser — what's the difference?
This is the only microphone decision that actually matters:
- Dynamic microphones pick up sound from close range and reject everything else. Keyboard clicks, fan noise, room echo — all minimized. This is what you want if you're streaming from a normal room with no acoustic treatment. Which is most people.
- Condenser microphones pick up everything — your voice, your keyboard, your neighbor's dog. They sound great in a treated studio. They sound like a mess in an untreated bedroom. The Blue Yeti is the classic example — hugely popular, but notorious for picking up background noise on stream.
Our recommendation for 99% of streamers: get a dynamic microphone.
Three microphones worth buying
| Microphone | Price | Connection | Why it's good |
|---|---|---|---|
| Shure MV7+ | $179 | USB + XLR | Best overall. Start USB, upgrade to XLR later without buying a new mic. |
| Rode PodMic USB | $169 | USB + XLR | Clean sound, built like a tank, same dual-connectivity as the MV7+. |
| Samson Q2U | $149 | USB + XLR | Best budget option. Sounds surprisingly good for the price. |
Not sure which one? Compare the Shure MV7+ vs Rode PodMic USB side by side with real specs.
If you want to spend less, the Elgato Wave:DX ($129.99) is a strong XLR-only dynamic mic. For even less, the Lewitt Ray ($149) is a newer option that's gaining traction among streamers.
If you want to spend more and go pro, the Shure SM7B ($399) is the gold standard — the mic you see on every major podcast and streaming setup. It's XLR-only, so you'll need a solid interface to go with it. See our best audio interface for the Shure SM7B guide for pairings.
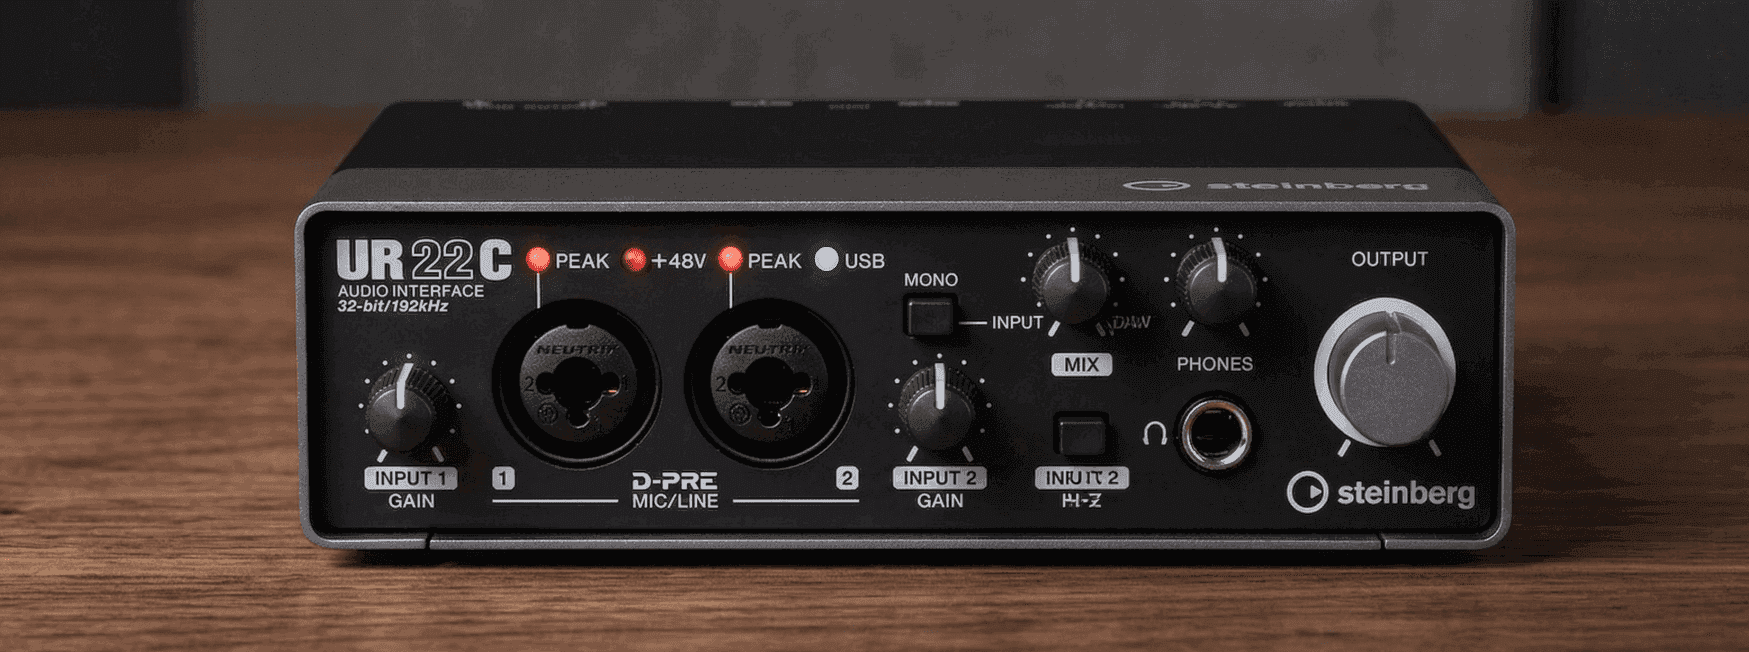
Step 2: Choose Your Audio Interface or Mixer
If you bought a USB microphone like the Shure MV7+ or HyperX QuadCast S, you can skip this step for now — USB mics plug directly into your PC. But if you bought an XLR microphone (or want to future-proof your USB/XLR mic), you need an audio interface.
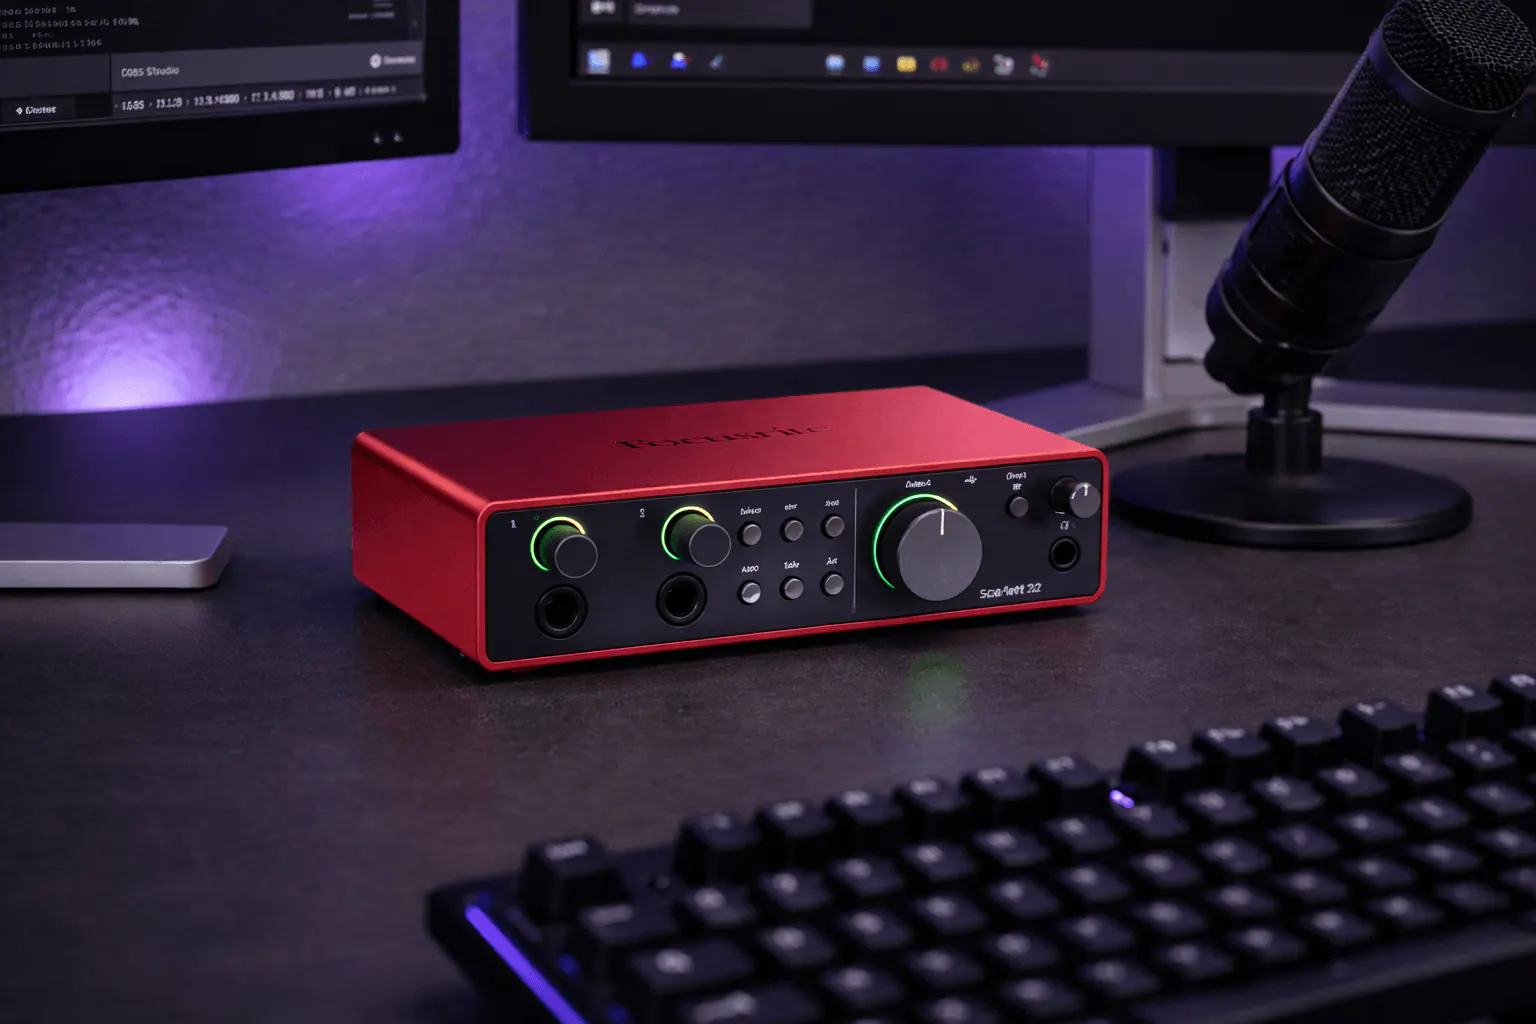
What does an audio interface actually do?
Three things that matter for streaming:
- Clean gain — amplifies your microphone signal without adding hiss or noise
- Zero-latency monitoring — hear your mic in real-time through headphones (USB always has a slight delay)
- Physical controls — a gain knob on your desk is faster and more precise than software sliders
Not convinced? Read our deep dive on whether an audio interface actually improves sound quality.
Three interfaces worth buying
| Interface | Price | Inputs | Why it's good |
|---|---|---|---|
| Focusrite Scarlett Solo (4th Gen) | $139.99 | 1 XLR + 1 instrument | Industry standard for solo streamers. Air mode makes your voice pop. |
| Focusrite Scarlett 2i2 (4th Gen) | $199.99 | 2 XLR + 2 instrument | Two inputs — perfect for co-streaming or podcast guests. |
| Behringer U-PHORIA UMC22 | $59.99 | 1 XLR + 1 instrument | Bare minimum. Works, but no Air mode, higher latency, noisier preamp. |
Compare the Scarlett Solo vs 2i2 if you're deciding between one and two inputs. Or see Scarlett Solo vs Behringer UMC22 if you're deciding between quality and budget.
For a full breakdown of every option, check our best audio interface for streaming guide.
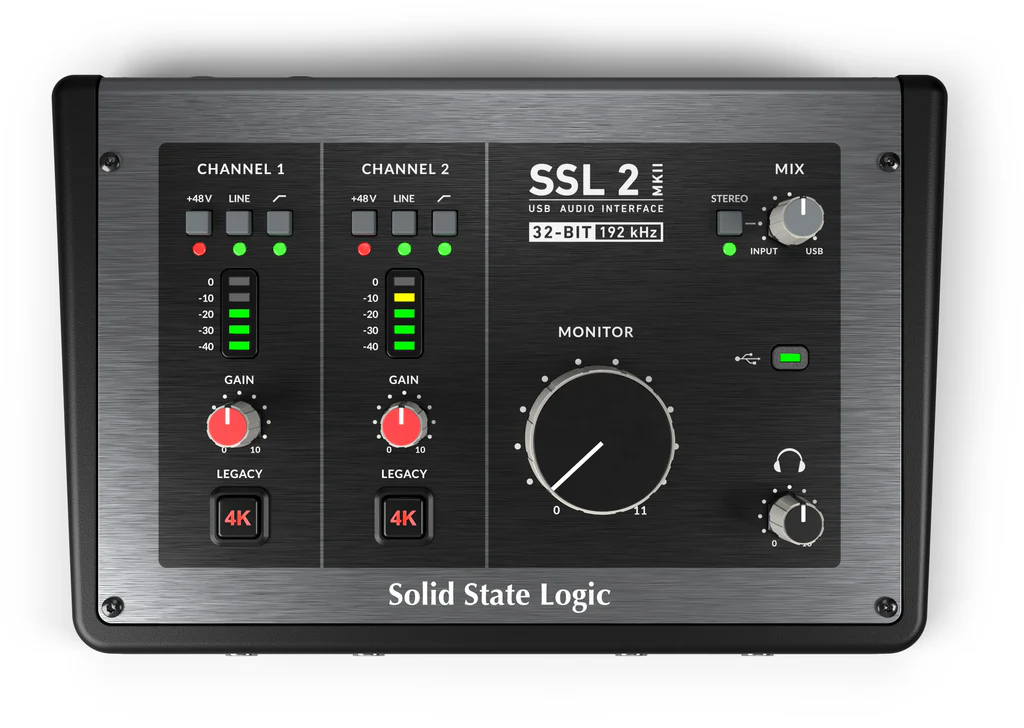
What about audio mixers?
If you want hardware faders, multiple audio routing channels, or built-in effects, a mixer gives you more control. The Roland BRIDGE CAST X ($499) is purpose-built for streaming with dual PC support. The Audio-Technica AT-UMX3 ($199) is a more affordable option. See our best audio mixer for streaming guide for the full comparison.
Step 3: Pick Your Camera
You don't need a $500 camera to look good on stream. You need a camera that handles 1080p at 60fps, performs well in whatever lighting you have, and works as a direct source in OBS Studio without driver drama.
Three cameras worth buying
| Camera | Price | Resolution | Why it's good |
|---|---|---|---|
| Elgato Facecam MK.2 | $149.99 | 1080p60 | Built for streamers. Uncompressed video, manual controls, zero driver issues. |
| Elgato Facecam 4K | $199.99 | 4K30 / 1080p60 | Same as MK.2 but with 4K for future-proofing. Compare them. |
| Logitech C920 | $79.99 | 1080p30 | The classic budget webcam. 30fps is fine for talking-head streams. |
Beyond webcams, some streamers use a real camera as their webcam via an Elgato Cam Link 4K ($179.99). The Sony ZV-1 II and Canon EOS M50 Mark II are popular choices. This setup looks significantly better than any webcam but costs $400+ and requires more setup.
Step 4: Capture Card (Only for Console Streaming)
If you're streaming from a PC, you do not need a capture card. Your games and OBS run on the same machine. Skip ahead.
If you're streaming from a PS5, Xbox, or Nintendo Switch, a capture card takes the HDMI output from your console and feeds it into your PC so OBS can capture the gameplay footage.
Three capture cards worth buying
| Capture Card | Price | Max Resolution | Why it's good |
|---|---|---|---|
| Elgato HD60 X | $179.99 | 1080p60 / 4K30 passthrough | The standard for console streaming. Plug in, open OBS, done. |
| AVerMedia Live Gamer ULTRA 2.1 | $299.99 | 4K60 passthrough | For 4K gaming on a PS5 Pro or Xbox Series X. |
| HDMI USB 3.0 Capture Card | $29 | 1080p60 | Does the bare minimum. Fine for testing, don't rely on it for a serious stream. |
Streaming from a specific console? We have dedicated guides: Xbox Series X, 1080p 60fps, and 1440p 144Hz.
Step 5: Cables, Stands, and Accessories
The stuff nobody tells you about until something doesn't plug in right.
Cables you'll need
- XLR cable — connects your mic to your interface. 6 feet is enough for most desks.
- USB-C cable — connects your interface to your PC (usually included).
- USB 3.0 cable — for your camera (usually included).
- HDMI cable — only needed for capture card setups.
Accessories worth getting
- Boom arm — positions your mic 2-4 inches from your mouth, off your desk. Non-negotiable for good audio.
- Shock mount — isolates your mic from desk bumps. Some mics (like the Shure MV7+) have one built in.
- Pop filter — reduces harsh P and B sounds. Some mics have integrated pop filters; others need an external one.
- Headphones — for zero-latency mic monitoring through your interface. Any closed-back headphones work. The Audio-Technica ATH-M50x is the streaming standard.
Three Pre-Built Setups for Every Budget
Don't want to piece everything together yourself? Here are three ready-to-go setups at different price points, all with verified compatibility.
Budget Setup (~$250)
The minimum viable streaming rig. Sounds good, looks fine, total cost under $300.
- Samson Q2U — dynamic mic, start on USB ($149)
- Logitech C920 — reliable 1080p30 webcam ($79.99)
- No interface needed yet (USB mode)
Build this exact setup in our builder tool and it'll verify compatibility automatically.
Mid-Range Setup (~$470)
The sweet spot for new streamers who want professional audio and video from day one.
- Shure MV7+ — dynamic mic, USB + XLR ($179)
- Focusrite Scarlett Solo (4th Gen) — clean XLR audio ($139.99)
- Elgato Facecam MK.2 — 1080p60 uncompressed ($149.99)
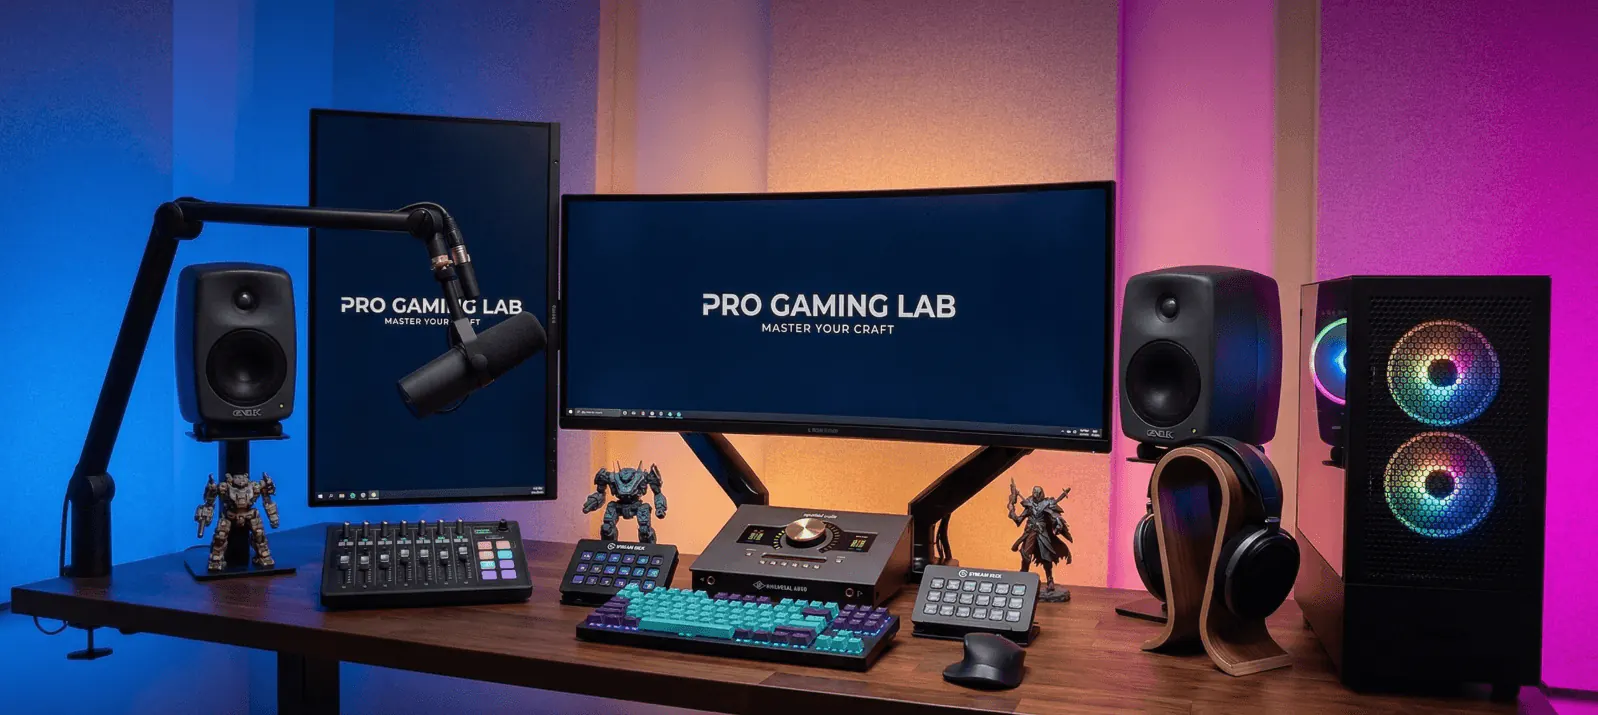
Pro Setup (~$800+)
For streamers who want broadcast-quality everything. The kind of setup viewers notice.
- Shure SM7B — the gold standard ($399)
- Focusrite Scarlett 2i2 (4th Gen) — two inputs for guests ($199.99)
- Elgato Facecam 4K — 4K-ready ($199.99)
See our Pro Streaming Setup for the full component list with cables included.
Platform-Specific Setups
Your platform changes what you need. Here's the quick reference:
| Platform | Key Addition | Budget | Full Setup |
|---|---|---|---|
| Twitch | Green screen for clean IRL background | ~$550 | Twitch Streaming Setup |
| YouTube | Key light for professional look | ~$620 | YouTube Streaming Setup |
| TikTok | Vertical mount for portrait streams | ~$490 | TikTok Streaming Setup |
| PS5 | Capture card for console gameplay | ~$440 | PS5 Streaming Setup |
| Xbox | Capture card + chat link cable | ~$460 | Xbox Streaming Setup |
Every completed setup includes exact components, verified buy links, and compatibility checks so you know everything works together before you buy.
Software: What to Run on Your PC
You need one piece of software to stream: OBS Studio. It's free, open-source, and handles camera capture, audio mixing, scene transitions, and streaming to every platform. Download it from obsproject.com.
Your Shure MV7+, Focusrite Scarlett, and Elgato Facecam all show up as sources in OBS automatically. No extra drivers needed. Plug them in, add them as sources, and go live.
If you want to stream to multiple platforms simultaneously (Twitch + YouTube at the same time), use OBS with the Multiple RTMP Output plugin.
How to Know Everything Is Compatible
The most frustrating part of building a streaming setup is buying gear that doesn't work together. XLR mic but no interface. USB 2.0 port for a camera that needs USB 3.0. Missing the cable that connects A to B.
Our Setup Builder checks compatibility in real time as you add components. It'll flag missing cables, mismatched connections, and power requirements before you spend anything.
Frequently Asked Questions
What's the minimum I need to start streaming?
A USB microphone and a webcam. The Samson Q2U and your laptop's built-in camera will get you live today. Add a dedicated webcam and audio interface when you're ready to level up.
Do I need an audio interface?
Not if you're using a USB microphone. You only need one when you switch to XLR. The benefit of the Shure MV7+ is that you can start on USB and add an interface like the Scarlett Solo later without buying a new mic. Read our guide on connecting an audio interface to your computer when you're ready.
USB or XLR microphone?
Start USB. When you want zero-latency monitoring and a cleaner signal, switch to XLR with an interface. Mics like the Shure MV7+ and Rode PodMic USB support both. Learn how to use an audio interface for the XLR switch.
Do I need a green screen?
No. Most streamers start without one. A clean, well-lit background looks fine. Add a green screen later if you want a fully customizable background — it's a nice upgrade, not a requirement.
Can I stream from a laptop?
Yes. You'll want an Intel i5 or AMD Ryzen 5 processor and 16 GB of RAM. All the USB devices above work with laptops that have USB-C or USB 3.0 ports. The Scarlett Solo is bus-powered so it runs off your laptop's USB power.
What's the difference between a $50 mic and a $400 mic?
Better components, lower self-noise, tighter polar pattern, and more consistent frequency response. The Shure MV7+ at $179 hits the sweet spot — it sounds 90% as good as the Shure SM7B at $399 for streaming purposes. Compare the MV7+ vs SM7B to see where the extra money goes.
Build Your Setup Now
You know what you need. The next step is picking your components and making sure they all work together. Our builder handles that part automatically.
Or browse our completed setups for ready-made configurations tailored to each platform.