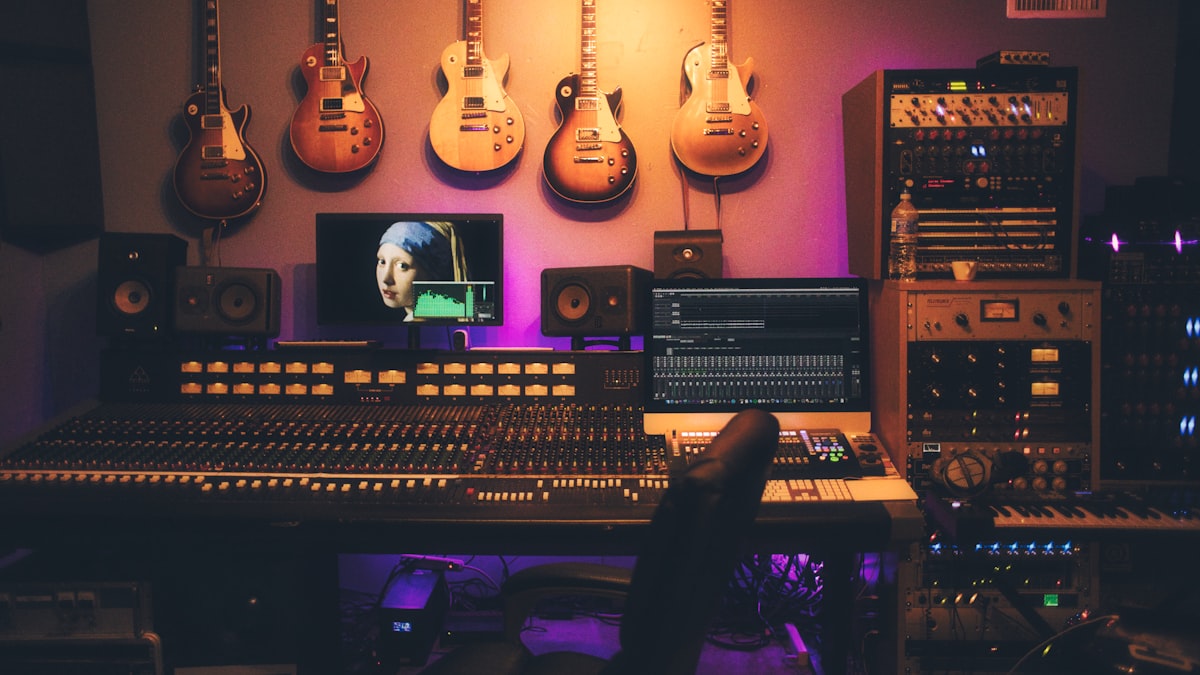
An audio interface is the bridge between your microphone, instruments, and your computer. Without one, you are stuck with whatever cheap sound card is built into your motherboard, and your stream, podcast, or recordings will sound like it. If you have already picked up your first interface but are staring at the back panel wondering where to start, you are in the right place. If you are still shopping, our guide on how to choose your first audio interface covers the buying side. This post covers everything else: the actual audio interface setup, from unboxing to a clean, tested signal in your recording or streaming software.
What You Need Before You Start
Before you plug anything in, make sure you have these basics sorted. Skipping any of them is the most common reason an audio interface not recognized error shows up later.
- An audio interface — USB, USB-C, or Thunderbolt. This guide covers all three connection types. PCIe interfaces are a different category and are not covered here.
- A compatible computer — Windows 10 or 11, or macOS (Intel or Apple Silicon). Check your interface manufacturer website for specific OS version requirements.
- The right cable — Most interfaces ship with a USB or USB-C cable in the box. Thunderbolt interfaces require a Thunderbolt cable, which is sometimes sold separately.
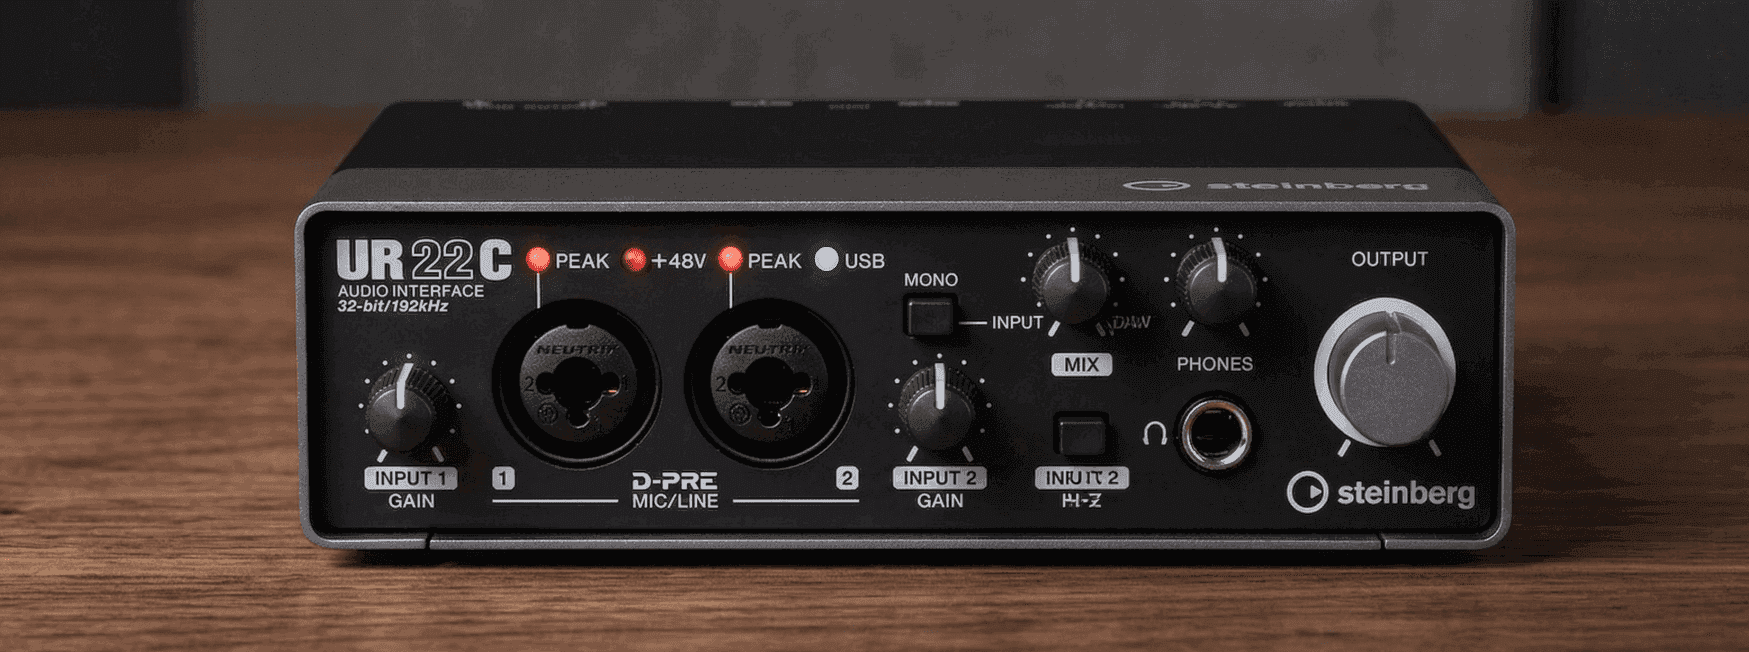
- A microphone or instrument — An XLR microphone for voice, a TRS cable for instruments or line-level gear, or both if your interface has combo inputs.
- Headphones or studio monitors — You will need these to monitor your signal without latency. Most interfaces have a dedicated headphone jack on the front.
- Recording or streaming software — OBS Studio for streaming, a DAW like Audacity, Reaper, or GarageBand for recording, or both.
Step 1: Unbox and Inspect Your Audio Interface
Take the interface out of the box and give it a quick physical inspection. Look for bent pins on the XLR jacks, loose knobs, or damage to the USB port. Confirm that the included cable matches your computer available ports.
Step 2: Install Drivers (or Confirm Class-Compliant Operation)
Windows: Install Drivers Before Plugging In
On Windows, most audio interfaces require a dedicated driver. If you plug in your interface before installing the driver, Windows will assign a generic USB audio driver that may work partially or not at all. Go to your manufacturer website and download the latest driver for your specific model and OS version. Install the driver, restart your computer if prompted, and then connect the interface.
Mac: Class-Compliant Means Plug and Play
Most USB audio interfaces are class-compliant on macOS, which means they work without a driver download. Plug the interface in and macOS recognizes it as an audio device immediately.
Step 3: Connect Your Audio Interface to Your Computer
Use the included cable to connect your interface to your computer. Connect the cable firmly on both ends. Most interfaces have a power LED that lights up when the connection is active. If the LED does not come on, try a different USB port on your computer — avoid USB hubs for the initial setup.
Step 4: Connect Your Microphone or Instrument
Take your XLR cable and connect the female end to your microphone. Connect the male end to the XLR input on your interface. Turn the gain knob on that input channel all the way down before you power on phantom power. If you are using a condenser microphone, press the 48V phantom power button. If you are using a dynamic microphone like the Shure SM7B, you do not need phantom power.
Step 5: Configure Your Software
In OBS Studio, go to Settings > Audio. Under the Global Audio Sources section, set your audio interface as the Mic/Auxiliary Audio Device. For monitoring, go to Settings > Advanced > Audio > Monitoring Device and select your interface headphone output.
Step 6: Set Sample Rate and Buffer Size
Set the sample rate to 48 kHz for streaming and podcasting. For live streaming, aim for a buffer size of 128 to 256 samples. If you hear clicks or pops, increase the buffer size until the artifacts stop.
Step 7: Test Your Signal
- Speak into your microphone at your normal volume. The level meter on your interface should peak in the green or yellow range.
- Check that your software is receiving signal in OBS or your DAW.
- Listen through your headphones connected to the interface. You should hear yourself clearly with no echo or delay.
- Record a short 10-second test clip and play it back.
Common Connection Problems and Fixes
Audio Interface Not Recognized by Windows
Open Device Manager > Sound, video and game controllers. If the interface shows up with a yellow warning icon, uninstall the device, reinstall the latest driver, restart, and reconnect.
No Signal in OBS or DAW
Verify the audio interface is selected as the input device in your software settings. Also check that the gain knob on your interface is turned up.
Crackling, Pops, or Dropouts
Increase your buffer size by one step. Confirm your interface and software are both set to the same sample rate. Close other applications competing for CPU or USB bandwidth.
Recommended Audio Interfaces by Use Case
Best Budget Audio Interface for Beginners
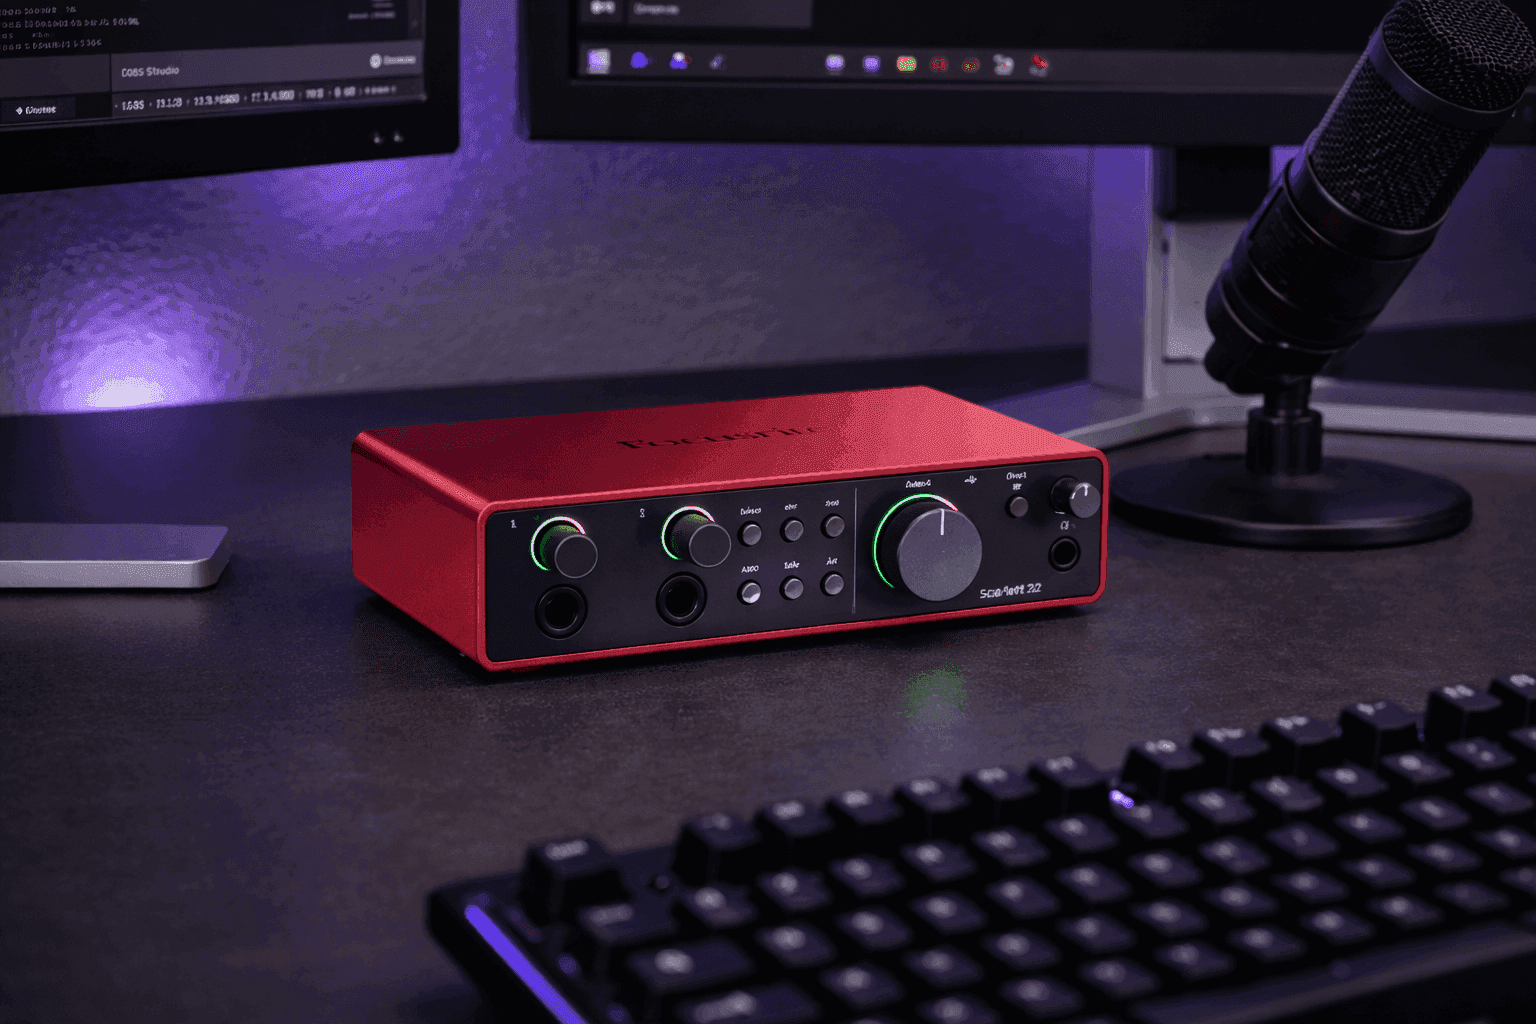
The Focusrite Scarlett Solo is the default starting point. A single XLR input with a clean preamp, USB-C connectivity, and a straightforward driver install make it the easiest audio interface to connect to a PC.
Best Audio Interface for Streaming
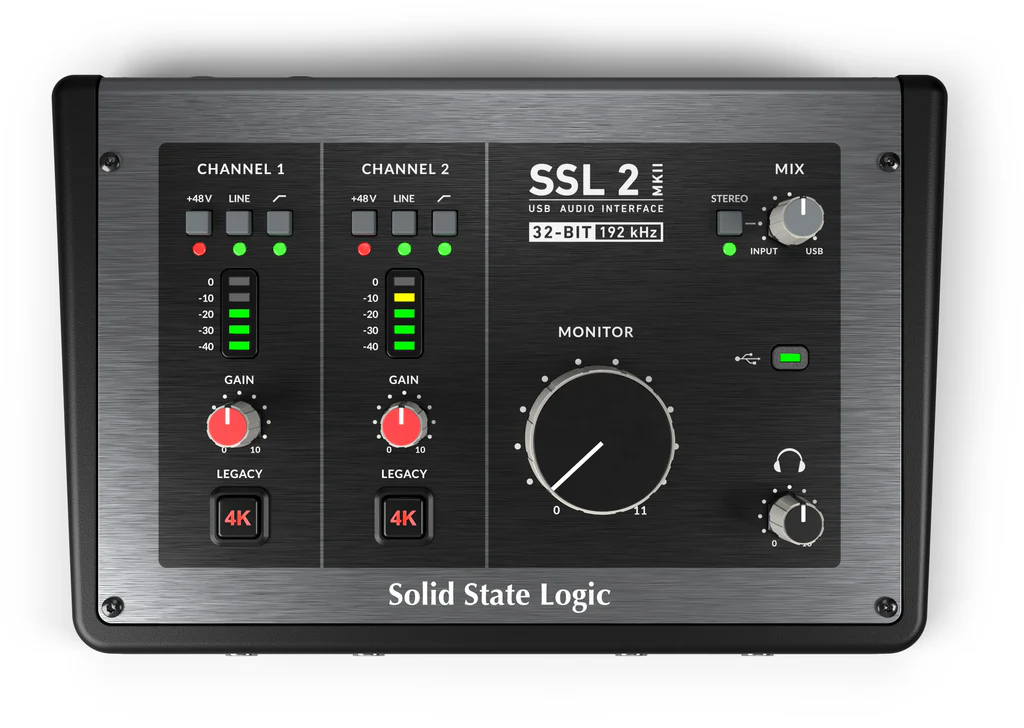
Look at interfaces with loopback functionality. The best audio interface for streaming in our catalog is the MOTU M2 — it has a built-in loopback mode, excellent preamps, and USB-C connectivity. The SSL 2+ is another strong contender. Compare the MOTU M2 vs SSL 2+ side by side to see which fits your workflow.
Best Audio Interface for Podcasting
The Audient EVO 16 offers four XLR/TRS combo inputs with individual gain control. For a two-person show, the Audient EVO 4 or the SSL 2+ are both excellent choices. Compare podcast-ready interfaces side by side to find the best fit for your show.
Conclusion
Connecting an audio interface to your computer is not complicated once you know the sequence: install the driver first, connect the interface, wire your microphone, configure your software, and dial in the sample rate and buffer size. The improvement in audio quality from even a budget interface is dramatic.
Ready to put together your full creator setup? Use the CreatorConfig setup builder to pick compatible gear. Browse the completed setups gallery for real-world build examples.