CreatorConfig is supported by its audience. We may earn commissions from qualifying purchases through affiliate links on this page. Full disclosure
The OBS specific part of the decision
Almost any class compliant audio interface will work with OBS, which makes the usual question misleading. There is no such thing as an OBS specific interface, and paying more does not buy better OBS integration. What separates a setup that works from one that crackles and drifts is configuration: sample rate matching, how you monitor, and which source type you pick. This guide covers the features that genuinely change your OBS experience, then hands off the buying decision to the guides that cover it in full.
The Ruling
What is the best audio interface for OBS Studio?Get the Focusrite Scarlett 2i2 4th Gen.
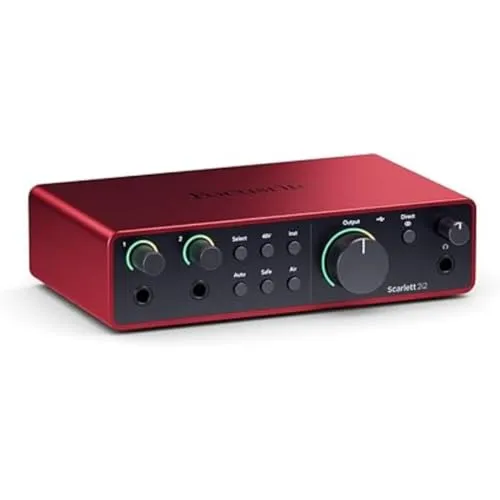
The Focusrite Scarlett 2i2 4th Gen is the best audio interface for OBS for most streamers, because there is no such thing as an OBS-specific interface — what matters is 48 kHz support, hardware direct monitoring and enough preamp gain — and the Scarlett wins on driver stability and 69 dB of gain, which covers demanding dynamic microphones without an inline booster.
Unless…
- Price is the constraint — get the Audient EVO 4.Console-derived preamps and Smartgain for $129, if you can live with 58 dB and a shared encoder instead of a knob per channel.
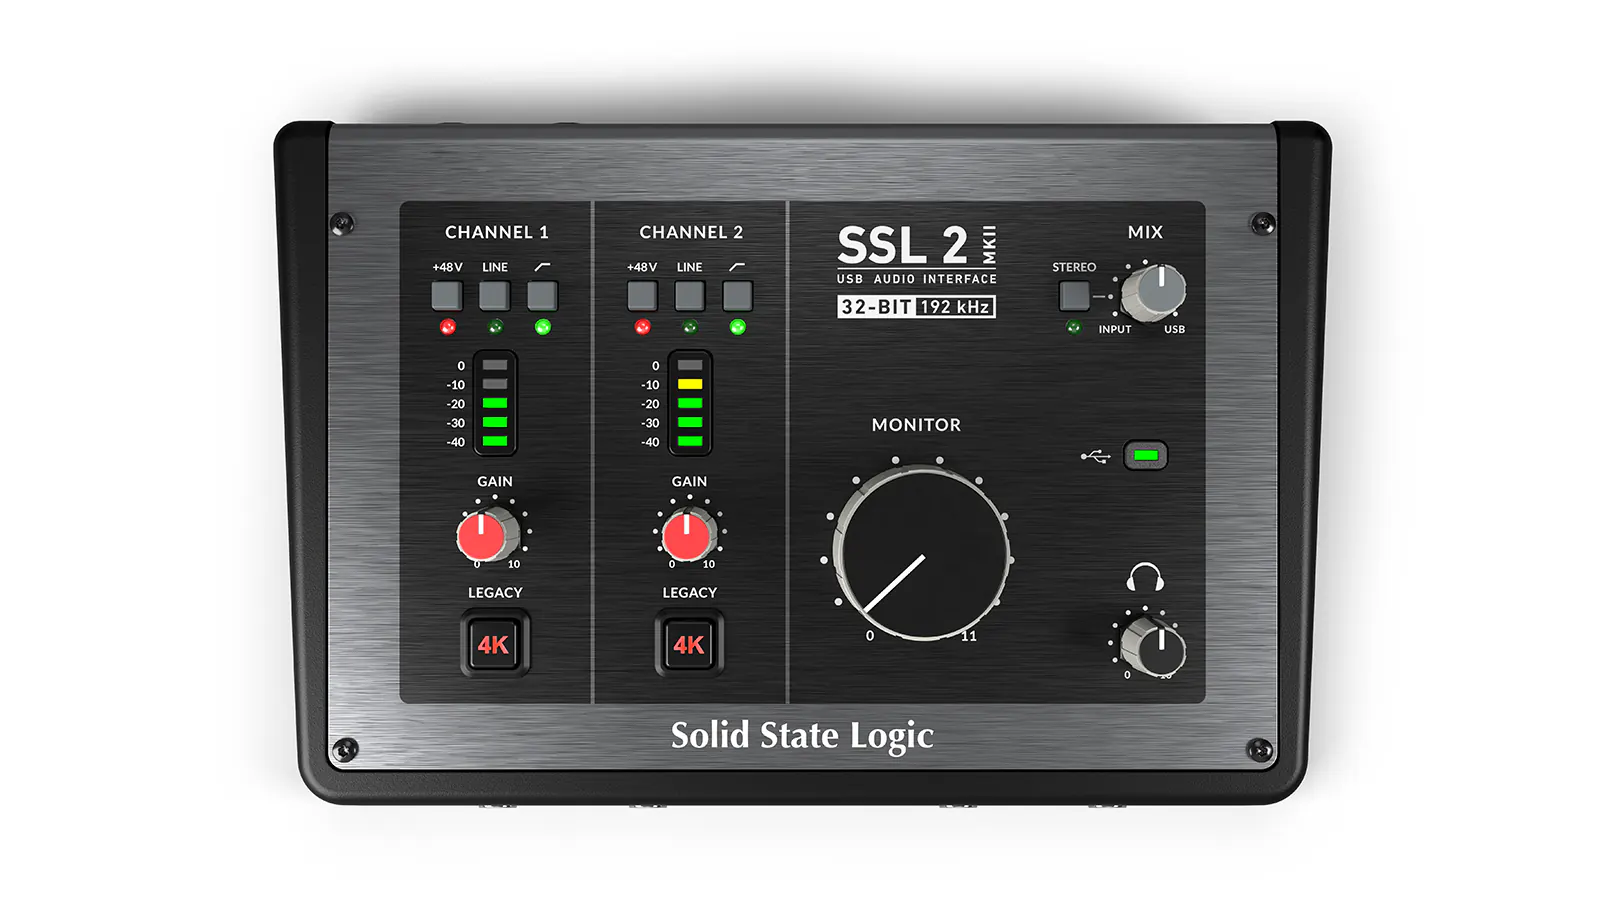
- A guest shares your desk — get the SSL 2+.Two genuinely independent headphone outputs, which nothing else at this price does without a splitter that halves the volume.
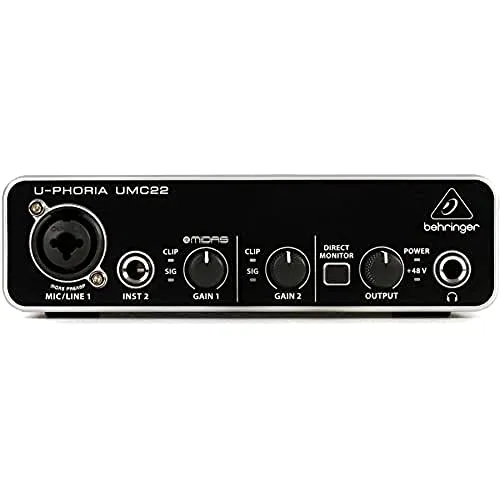
- You want the cheapest possible entry point — get the Behringer UMC22.One XLR input with 48V phantom power and direct monitoring, at $59.99.
The full ranking
- Best overall for OBS:Focusrite Scarlett 2i2 4th Gen, stable drivers and 69 dB of gain
- Best value:Audient EVO 4, console derived preamps with automatic gain setting
- Best metering:MOTU M2, front panel LCD you can read without leaving your game
- Best for a guest:SSL 2+, two independent headphone outputs
- Cheapest route into OBS:Behringer UMC22, one XLR input with phantom power under 60
At a Glance
How the three real contenders compare
None of these will be the weak link in an OBS chain, so the shape is about what each one asks of you. The Scarlett is the only polygon with no short axis. The EVO 4 buys its price with gain and physical controls; the SSL 2+ spends the same money as the Scarlett on a second headphone feed and asks you to set your own levels.
Each spoke runs 0 at the center to 10 at the outer ring.
- Focusrite Scarlett 2i2Our pick. Stable drivers and 69 dB of gain.
- Audient EVO 4Take it instead if price is the constraint.
- SSL 2+Take it instead if a guest shares your desk.
| Category | Focusrite Scarlett 2i2 | Audient EVO 4 | SSL 2+ |
|---|---|---|---|
| Preamp Gain | 10/10 | 5/10 | 7/10 |
| Monitoring | 8/10 | 6/10 | 10/10 |
| Ease of Setup | 10/10 | 10/10 | 6/10 |
| Build & Controls | 8/10 | 4/10 | 9/10 |
| Value | 7/10 | 10/10 | 7/10 |
Quick Comparison: Best Audio Interfaces for OBS
Scarlett 2i2 (4th Gen)
Most Streamers
Audient EVO 4
Best Value
MOTU M2
Best Monitoring
SSL 2+
Most Headroom
Behringer UMC22
Cheapest Route
Scarlett 2i2 (4th Gen)
Key Specifications
The Scarlett 2i2 is the default recommendation for OBS for unglamorous reasons: the drivers are stable, it is class compliant so Windows and macOS both see it without fuss, and it has been common enough for long enough that any problem you hit has already been solved in a forum thread. For a device that sits between you and a live audience, that predictability is worth more than a spec sheet.
The fourth generation raises maximum gain to 69 dB, which finally puts demanding dynamic microphones within reach without an inline booster. Auto Gain will set a sensible level from a short speech sample, which removes the most common beginner mistake of streaming for an hour at the wrong input level.
For OBS specifically, the direct monitor switch has a stereo position, so you hear yourself centred rather than in one ear, which is a small thing that makes long streams less fatiguing. Set it to 48 kHz in Focusrite Control to match OBS and the sample rate problem covered above never appears.
Why it wins
- Stable drivers and a huge troubleshooting community
- 69 dB of gain drives most dynamics without a booster
- Auto Gain removes the usual level setting mistake
Skip if
- You need more than two inputs
- You want the cheapest possible entry point
- You need loopback built into the hardware
Audient EVO 4
Key Specifications
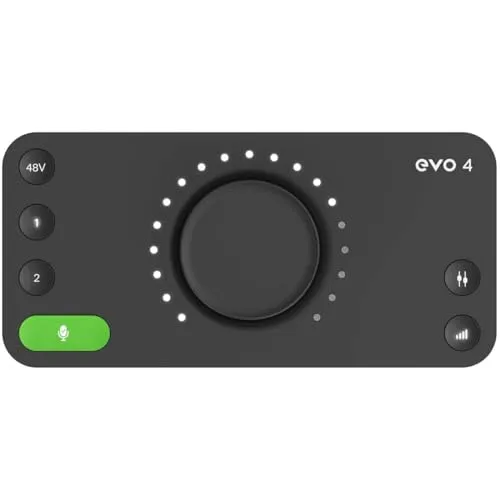
The EVO 4 undercuts the Scarlett by a meaningful margin while using preamps derived from Audient console designs, which is an unusually good pedigree at this price. For a single microphone into OBS it gives away very little to interfaces costing half again as much.
Smartgain is the standout feature. Press the button, talk normally for a few seconds, and it sets the gain for you. That solves the same problem as Focusrite Auto Gain and it is arguably more useful here, because this interface is aimed at people who have not set a gain stage before.
The compromises are physical. The controls are a shared encoder with channel select buttons rather than one knob per channel, which is fiddly if you adjust levels mid stream, and the plastic housing feels less substantial. At 58 dB the gain is enough for most microphones but tight for the most demanding dynamics.
Why it wins
- Console derived preamps well below the usual price
- Smartgain sets levels for you in seconds
- Compact enough for a crowded desk
Skip if
- You want a dedicated knob per channel
- You are running a very low output dynamic
- You prefer a metal chassis
MOTU M2
Key Specifications
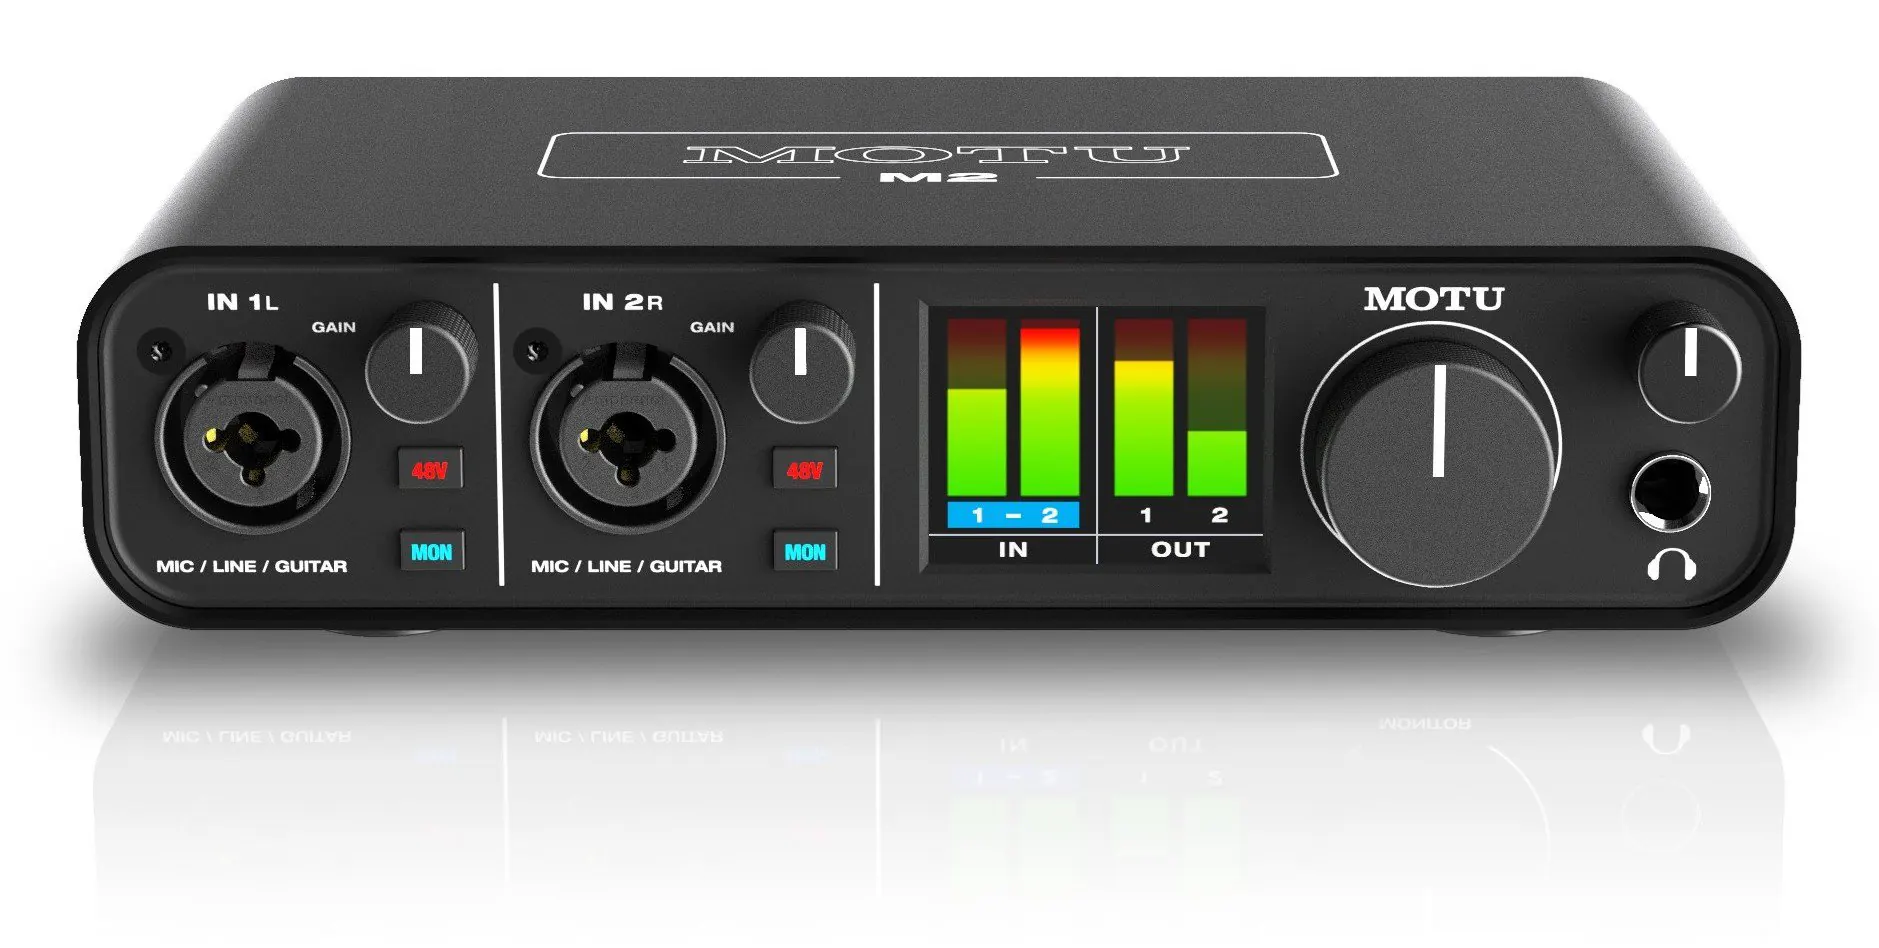
The M2 solves a problem OBS users hit constantly, which is not knowing your real input level until you look at a software meter. Its full colour LCD shows proper metering for every input and output on the front of the unit, so you can see at a glance that you are peaking too hot without alt tabbing out of a fullscreen game.
The converters are ESS Sabre32 parts more commonly found in higher end gear, and the measured performance is excellent for the money. For streaming that headroom is more than you need, but it means the interface will not be the limiting factor if you later record music through it.
The tradeoff is gain. At around 60 dB it handles most microphones but sits below the Scarlett fourth generation, so a particularly demanding dynamic may still want help. The USB-C connection and bus power keep the desk tidy.
Why it wins
- Front panel LCD metering you can read mid stream
- ESS Sabre32 converters at a mid range price
- USB-C and bus powered
Skip if
- You need maximum gain for a quiet dynamic
- You never look at the interface while streaming
- You want built in DSP effects
SSL 2+
Key Specifications
The SSL 2+ earns its place on this list for one feature that matters more to streamers than to musicians: two independent headphone outputs. If you ever have a guest sitting next to you, or you want to monitor separately from a second person at the desk, no other interface at this price does it without a splitter that halves the volume.
The Legacy 4K switch adds a high frequency lift and subtle harmonic saturation modelled on SSL consoles. On spoken voice it adds an air and presence that reads as more polished on a stream, and unlike a software plugin it costs no CPU while you are gaming.
Gain sits around 62 dB, which handles the great majority of microphones, and the build is solid. It is the least well known name here to most streamers, which is the only real argument against it, and that is a marketing fact rather than a technical one.
Why it wins
- Two genuinely independent headphone outputs
- Legacy 4K adds polish with no CPU cost
- Strong gain and solid build
Skip if
- You stream alone and never need a second headphone feed
- You want the most neutral possible sound
- You prefer a brand with more streaming tutorials
Behringer UMC22
Key Specifications
The UMC22 is here because the honest answer to getting an XLR microphone into OBS on the smallest possible budget is that this works. It has one XLR input with phantom power, direct monitoring, and 48 kHz support, which is the complete list of things OBS actually requires.
The compromises are real and worth being clear about. The preamp is noisier than everything else on this list and the gain is modest, so a low output dynamic is not a realistic pairing. A condenser or a louder dynamic at close range is where it works. The 48 kHz ceiling is irrelevant for streaming, since that is the rate you want anyway.
Treat it as a stepping stone rather than a destination. If your alternative is staying on a headset microphone because interfaces look expensive, this gets you onto XLR now, and it holds its value well enough to pass on later when you upgrade.
Why it wins
- Genuine XLR input with phantom power for under 60
- Direct monitoring and 48 kHz, which is all OBS needs
- Removes the cost barrier to trying XLR
Skip if
- You are running a low output dynamic microphone
- You need two microphone inputs
- You care about a low noise floor
Features that matter in OBS
| Feature | Why it matters for OBS | Priority |
|---|---|---|
| Direct monitoring | Hear yourself with no software delay | Essential |
| 48 kHz support | Matches OBS and avoids resampling drift | Essential |
| Enough preamp gain | Dynamic mics need 60 dB before hiss | Depends on mic |
| Loopback | Routes system audio back without cables | Nice to have |
| More than 2 inputs | Needed only for a second live mic | Situational |
Get the sample rate right first
This is the single most common cause of bad OBS audio, and it costs nothing to fix. OBS runs at 48 kHz by default. If your interface is set to 44.1 kHz, every sample has to be converted, and the symptoms are easy to misdiagnose: intermittent crackling, audio that slowly slides out of sync across a long stream, or pops when a scene changes. People usually blame the interface or the microphone and start shopping.
Set 48 kHz in three places and confirm they agree. First in the manufacturer control panel for the interface, which is authoritative. Second in Windows Sound settings under the device Advanced tab. Third in OBS under Settings, Audio. If your interface offers a buffer size setting, 256 or 512 samples is a sensible starting point for streaming, since you are not tracking music and the extra stability is worth more than the millisecond or two you save.
Monitoring, and why OBS is the wrong place for it
Interfaces include a direct monitor control that splits your microphone signal in hardware and sends a copy straight to the headphone output. That copy never enters the computer, so there is no delay at all. It is the reason an interface feels better to talk into than a USB microphone routed through software, and it is free with hardware you already bought.
Set the OBS microphone source to Monitor Off and use the interface mix knob. The one exception is when you want to hear an OBS filter as you speak, for example checking a noise suppressor is not clipping your words. In that case switch to Monitor and Output, accept the delay for the duration of the check, then switch back. Leaving OBS monitoring on permanently while also using direct monitoring produces a doubled, slightly echoing version of your own voice, which is a frequent and confusing complaint.
Adding the interface to OBS
Add the microphone as its own source rather than relying on the default. In the Sources panel choose Audio Input Capture, give it a clear name, and in the Device dropdown select the interface by its actual name instead of Default. This matters more than it sounds. Default follows the Windows system device, so plugging in a headset or a monitor with speakers can silently redirect your microphone capture mid stream, and the first sign is usually a viewer telling you they cannot hear you.
Remove the automatically created Mic and Aux source afterwards if you are not using it, since leaving it in place means OBS captures the same audio twice, producing a hollow phased sound. Then set your filter chain on the new source in this order: Noise Gate first to cut room tone between sentences, Compressor next to even out level, and Limiter last at around minus 3 dB as a safety net. Order matters, because compressing before gating amplifies the room tone you were trying to remove.
Check the level while speaking normally at your usual distance. You want peaks landing in the yellow around minus 12 to minus 6 dB, never touching red. Set that with the interface gain knob rather than the OBS fader, because the interface is where the analogue signal is converted and getting it right there gives the cleanest result. The OBS fader should stay near zero and exist for small adjustments, not to rescue a badly set gain stage.
Three problems and their causes
Crackling or popping audio. Nearly always a sample rate mismatch or a buffer set too small. Confirm 48 kHz everywhere, then raise the buffer to 512 samples. If it persists only while gaming, your CPU is starved during load and a lighter encoder preset will help more than any audio setting.
Audio drifting out of sync over a long stream. This is the signature of continuous resampling. A few milliseconds of error accumulate until the offset is visible. Fix the sample rate rather than reaching for the sync offset field, which only masks a fixed delay and cannot correct a drift that grows.
Hearing yourself twice. Direct monitoring on the interface and OBS monitoring are both active. Pick one. Set the OBS source to Monitor Off and use the interface, which is the lower latency path and the one you want during normal use.
Choosing the interface itself
With configuration handled, the hardware choice comes down to the same criteria as any streaming setup: enough gain for your microphone, direct monitoring, and build quality you trust. Our best audio interfaces for streaming guide covers the full range with current recommendations. If you record music as well as stream, the home studio interface guide weighs the tradeoffs differently and is the better starting point.
One microphone deserves a special mention. The Shure SM7B is popular with streamers and demands far more gain than most interfaces provide, so it is the one case where the microphone dictates the interface rather than the other way round. Our SM7B interface guide covers which units drive it cleanly without an inline booster.
Once the hardware is connected, the rest of your OBS configuration matters just as much as the audio chain. Encoder choice, bitrate and keyframe interval decide how the stream actually looks, and they are covered in our OBS Studio settings guide. If you find yourself wanting to split game audio, music and chat into separate channels, that is a routing problem rather than a hardware one, and our audio mixer software guide covers the free tools that solve it.
Frequently asked questions
What sample rate should my audio interface use with OBS?
Set both to 48 kHz. OBS defaults to 48 kHz in Settings, Audio, and streaming platforms expect it, so matching your interface avoids a resample on every frame of audio. A mismatch, for example an interface running at 44.1 kHz while OBS runs at 48 kHz, forces a conversion that can produce clicks, gradual drift between audio and video, or crackling under load. Change it in your interface control panel, not just in Windows sound settings, because the driver value is the one that wins.
Why can OBS not see my audio interface?
The usual cause is that another application has taken exclusive control of the device. Open Windows Sound settings, find the interface under Recording, and disable exclusive mode in its Advanced properties. The second common cause is selecting the wrong source type: an interface should be added as an Audio Input Capture source pointing at the specific device, not left on Default, because Default follows the Windows system device and will silently switch when you plug in headphones.
Do I need an ASIO plugin for OBS?
Usually not. OBS uses WASAPI on Windows, which is low latency enough for streaming, and the standard Audio Input Capture source works with any class compliant interface. The obs asio plugin is worth adding only if you need more than two channels from one interface as separate OBS sources, since WASAPI capture is limited to the stereo pair the driver presents. For a single microphone the plugin adds complexity with no audible benefit.
Should I monitor through my interface or through OBS?
Through the interface, using its direct monitor control. That path is analogue, so you hear yourself with effectively zero delay. Monitoring through OBS means your voice travels into the computer, through the software, and back out, which adds enough delay to be distracting while speaking. Set OBS monitoring to Monitor Off for the microphone source and use the interface mix knob instead, unless you specifically need to hear an OBS filter such as a noise suppressor while you talk.
How do I record my microphone on a separate track in OBS?
Open Advanced Audio Properties from the gear icon in the OBS Audio Mixer, then use the Tracks checkboxes to assign your microphone to track 1 and desktop audio to track 2. In Settings, Output, switch to Advanced mode and enable the tracks you want in the Recording tab. Your stream keeps using the single mixed track while the local recording captures each source separately, which lets you fix a level mistake in editing rather than living with it.